I apologize in advance for what is going to be a long post, but it was a long process. What can I say?
After researching what it would entail to swap our existing beige light switches for some snazzy new white ones that weren’t covered in 23 layers of paint, I got a bug up my butt (<–my mom’s phrase, not mine!) and got to work. There was no way we would — or could — shell out $700+ for new light switches, so stripping and repainting them was really our only option.

I had read somewhere that boiling paint covered doorknobs and light switches was a good way to remove the paint without having to deal with a fumy paint striper. Since it would save us $10 and we have a little one in the house I decided to go for it. Guess what? It totally worked! I will say that you have to move really fast (like, 10 seconds or less — hello burnt fingers!) or the paint will cool and re-adhere, but I had a system down and I managed to boil and scrape 29 switch plates in about 2 hours.

I made a list detailing each necessary step of the process because I’m nerdy like that. In that moment, I was a bit of an overachiever. You can see that I originally planned to prime and paint the wall behind each switch plate. I thought this would be a good idea so that we wouldn’t have to remove them when we painted the walls and risk damaging my new white switch plates. Obviously I didn’t do that. After 3 days and 6-odd hours of labor I just wanted my house back together. We can’t all be superheroes.
We had four plates (either for light switches or a now-defunct speaker system) that we couldn’t get off the walls, either because the screws were stripped or because we weren’t invested enough to bother disconnecting them from the wiring. For each of those I applied a few layers of stripper and scraped them right on the wall. I re-painted them on the wall too.

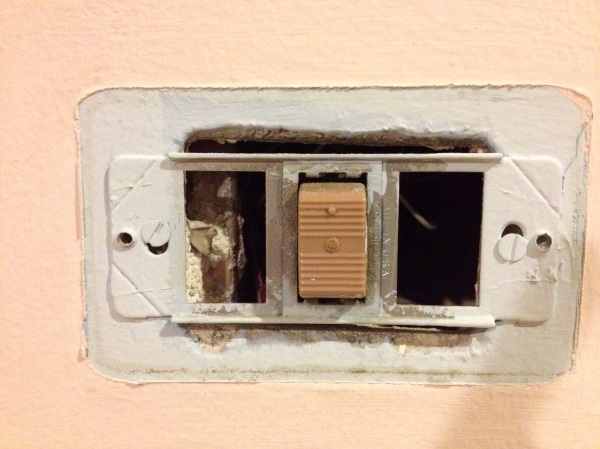
I didn’t want a lot of overspray on the wall — a carefully placed paper towel did the trick.

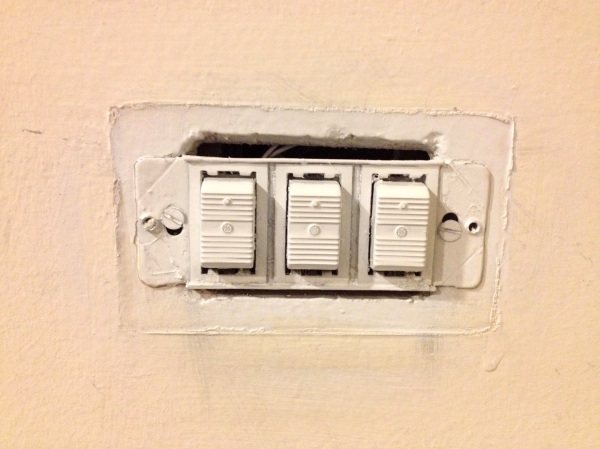
This is the switch that once operated the curtains in the great room. Not the curtains I threw in the trash (that would have been a neat feature to keep!), but the original set that was removed long before we came around. It doesn’t do anything anymore, but I think it’s cute and so I decided to keep it. I polished the switch up with some Barkeeper’s Friend and repainted the rusted plate.
I also wiped a dollop of stripper on each of the switches themselves — right were they sat on the wall. I would recommend turning off the power if you do this since the wires are live — although I didn’t do this, A) because I did all this after the bambino went to sleep for the night and I needed the light to see; and B) because I have an apparent death wish. I followed up the stripping agent with a hearty attack with a wire brush (there’s that death wish again), scrubbed everything down, and then wiped them down with TSP to remove any extra dirt and grease.

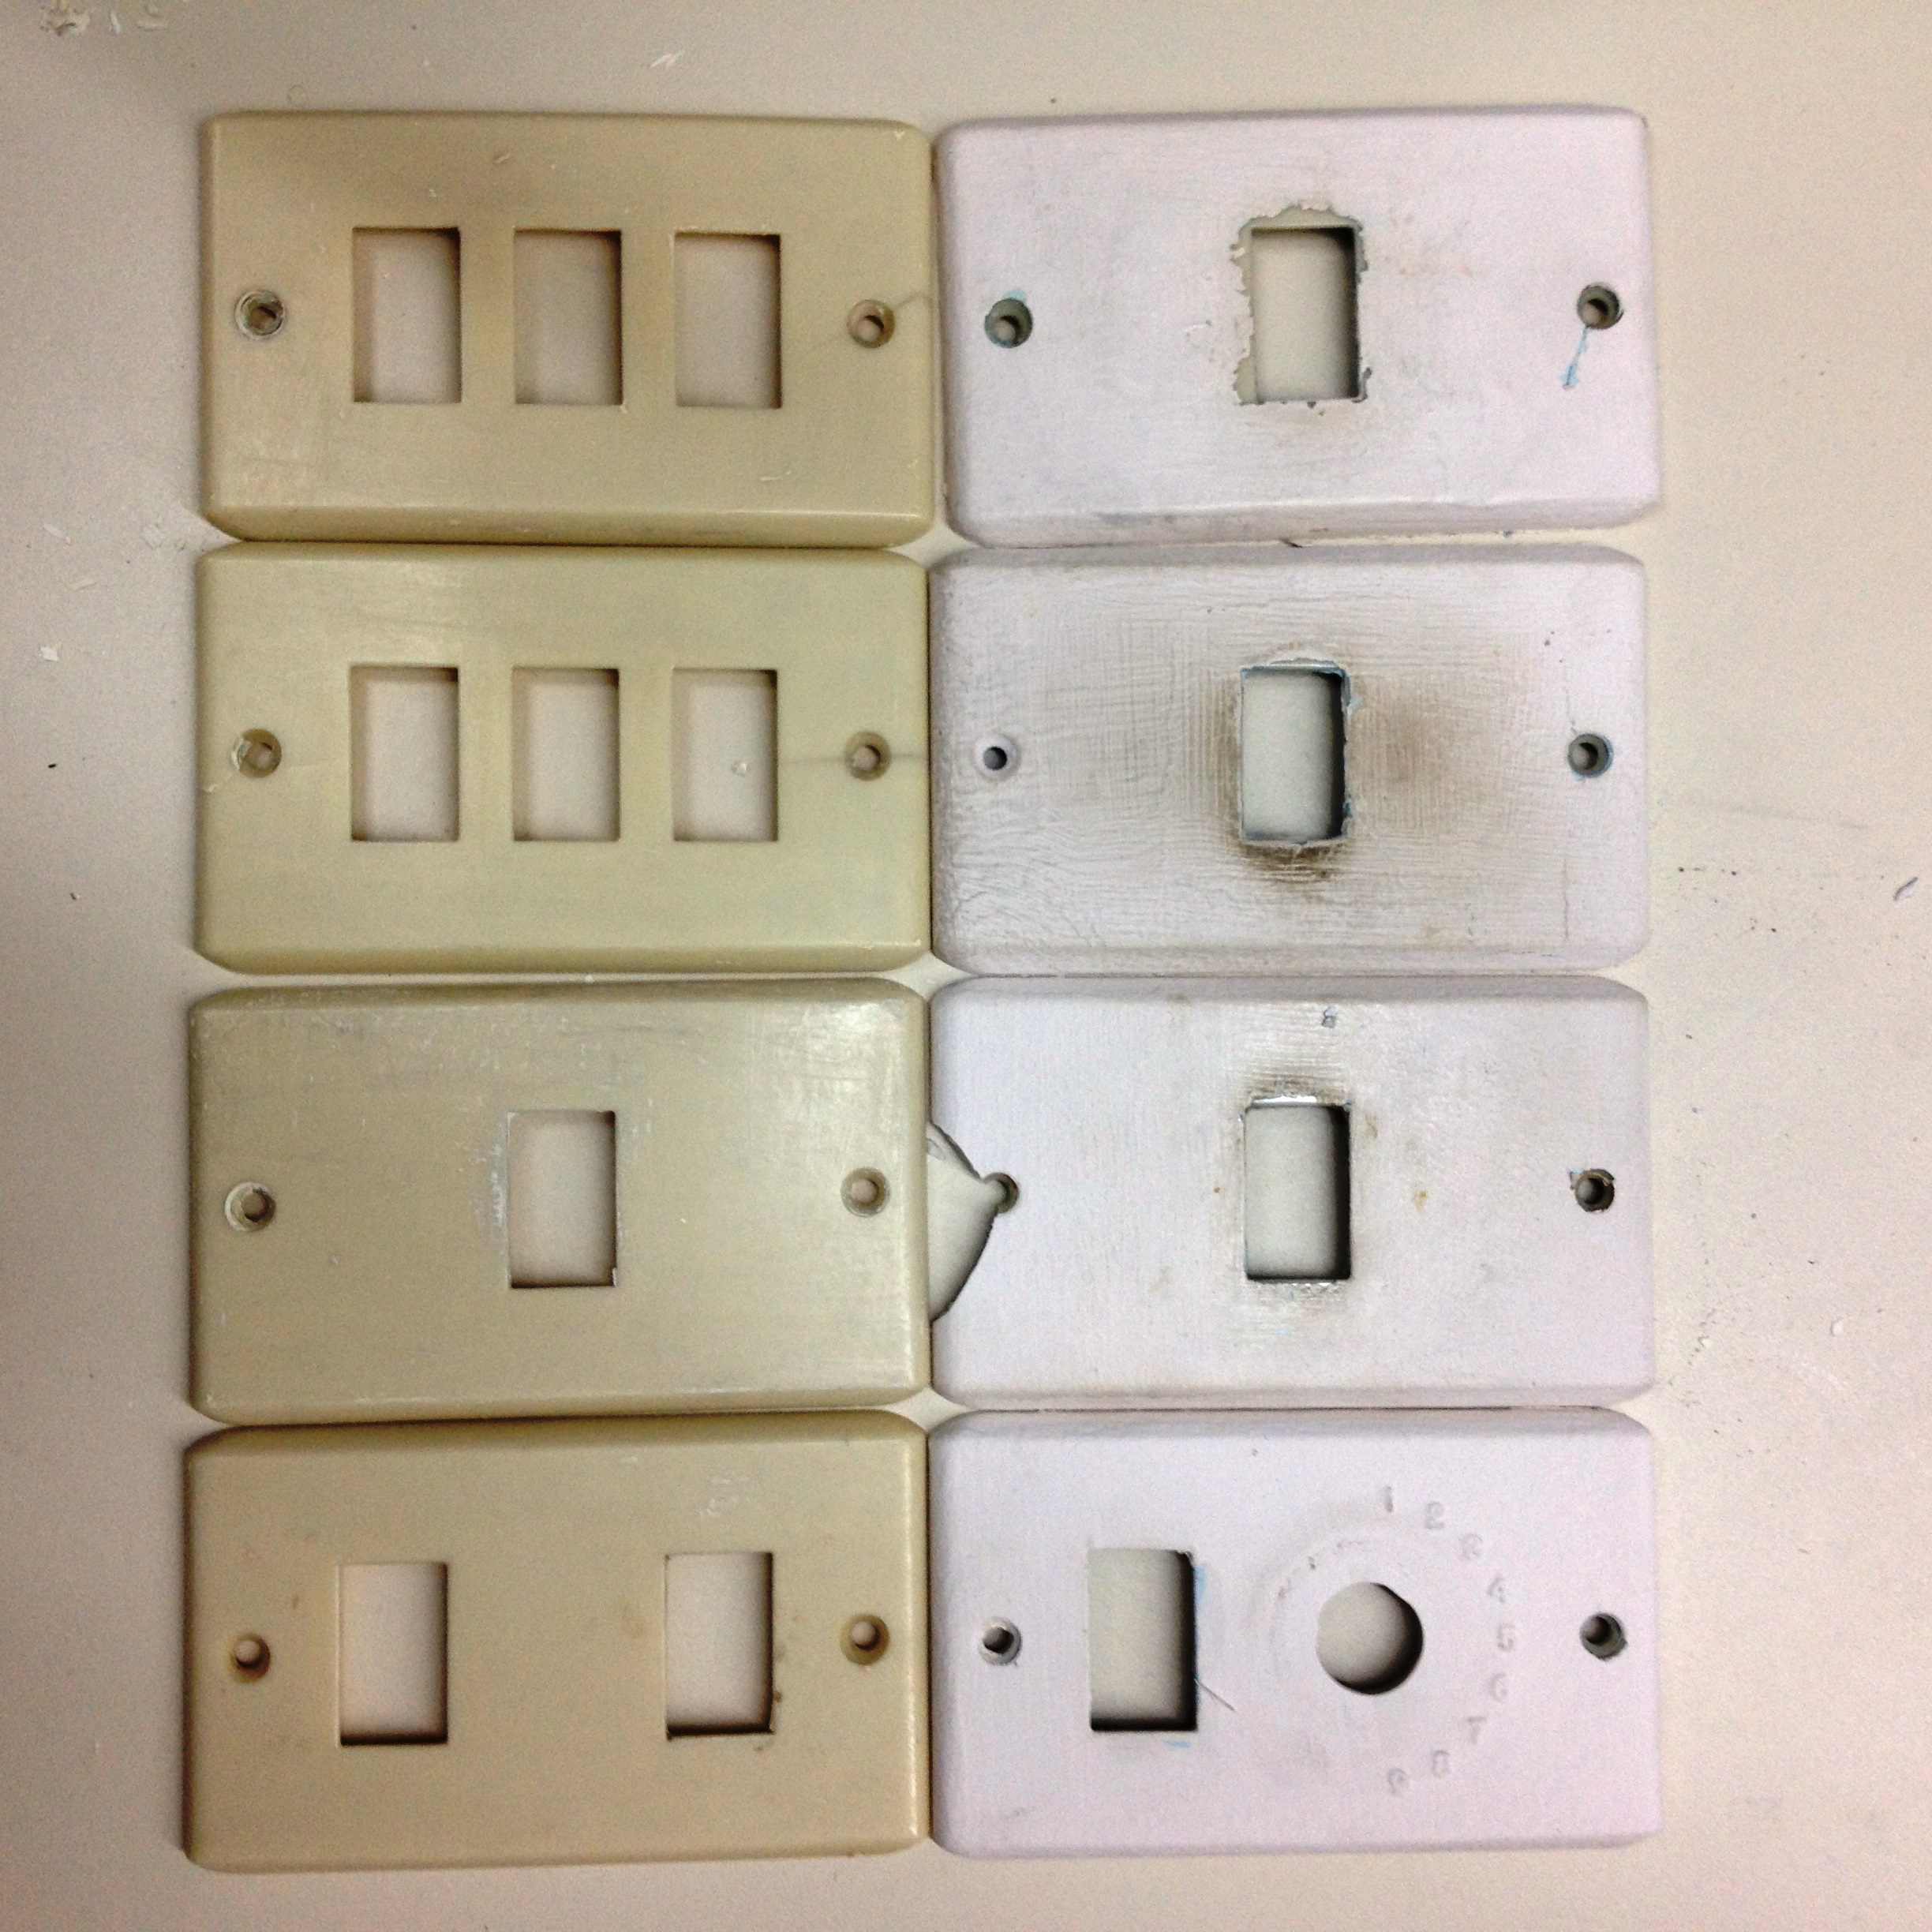
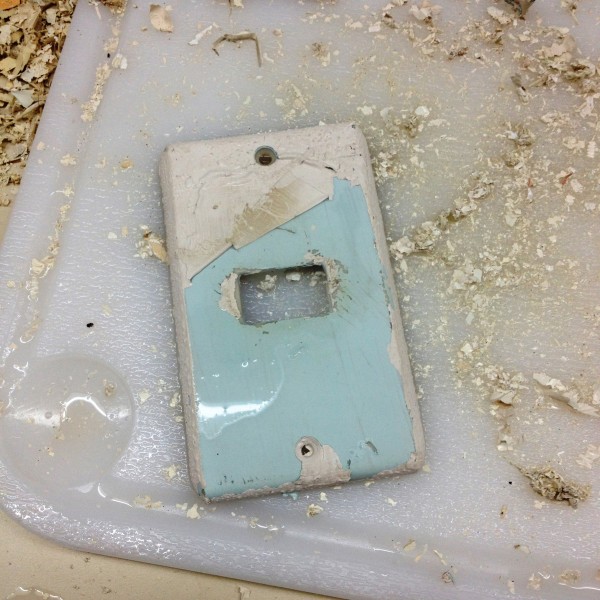
Years of grime and paint on top. Freshly stripped on the bottom. Wait, that didn’t sound right…
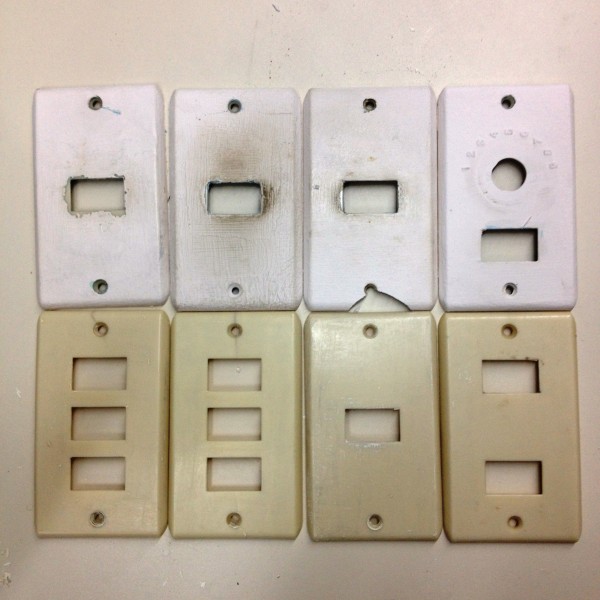
Some plates needed two dips into the boil bath. Lucky sons o’ b*tches.


I could have purchased a new one of these for, like, $.46. I clearly got carried away. But look at that paint color! Our ENTIRE kitchen, laundry, and half bath were once painted that color!

Once they were stripped, I sanded them down with a sanding block and gave them a wipe with a rag soaked in TSP. This ensured a nice smooth surface and removed any grease or dirt that might keep the paint from adhering. Then I laid them all out on my kitchen table and prepared to paint. Again, I wouldn’t recommend this — it’s always best to use spray paint outside, but it was 8 degrees here, and did I mention it was dark? — especially if you like your floors. You may remember that I do, in fact, not like my kitchen floors so seeing them covered in a white haze the next morning didn’t particularly bother me.

I gave each of the plates 2-3 spray coats of Rust-Oleum’s spray paint and primer in white gloss. I followed up with 2 coats of their Clear Coat Enamel. Both were just what I had on hand, but they worked great. I should have sanded in between coats, but again, I didn’t. Do as I say and not as I do. Some of my plates have little fibers and whatnot stuck to them. Probably from the newspaper. Eh, well. I just reinstalled those in seldom used areas of the house like the closets. Problem solved.
Back to the switches. I made a template out of a cereal box — cutting little holes in it the size of my switches — and held it up over each switch to be painted. This helped keep paint from getting into the cavity behind the switch and coating the interworkings of the wiring. I didn’t get any photos of my template, sorry. This step required about six hands, and I only have two.
I made two passes with my paint and primer and one heavy pass with the clear coat. Multiple light coats are better than fewer, heavier ones, but I was over it, what can I say?
By the way, in my last post about these switches I said they didn’t have a maker’s mark, but look! That dot in the middle of each button is the GE logo. Most are completely worn away from years of use though, and when you factor in the multiple layers of paint each one had, it’s no wonder I missed it.
I did buy new white screws because the existing screws were brass and I had no desire to paint each and every screw head (and deal with the likelihood of them chipping when I screwed them back in) when a new box of 50 screws was only $6. I already had all the paint and stripping agents on hand so really that was my only out of pocket expense. A couple of our plates are broken and many of them have hairline cracks so we may have to purchase a few new plates if they further deteriorate, but for now, I just put the broken plates in the closets and said a silent prayer over the cracked ones.
The plates were dry to the touch the next morning, but won’t be fully cured for a week. I thought we’d have to be a little careful with them the first week (I warned Kirk that he’d better not ruin my efforts by turning on or off the lights with keys in his hand), but really, they seem pretty solid.
And shiny!
And white!

I may be biased, but I really don’t think they look like janky painted switches at all — they look like the real deal to me! Of course, only time will tell. I’ll let you know how they hold up. (Confession: It irks me that the screws aren’t straight in this picture)
But before I go, take a look at the two other types of wallpaper we discovered in the bathrooms!
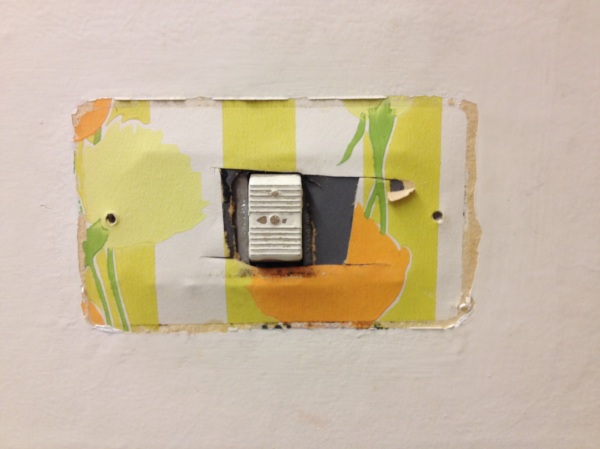

I left the Island Oasis and the Starry Night papers in place. They are part of the house’s history.
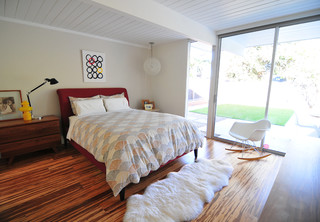
Another fun moment was when I realized our bedroom, which I always figured was the same off-white as the rest of the house, is really a soft pink! I never would have guessed, but when I laid the switch plates from that room next to the others it was so obvious.
Also, the half bath off the laundry room was apparently the same salmon pink as the kitchen once was. Bad photo, but you get the idea.

All told, this refresher took about 6 hours over a couple of days but it was totally worth it. Now I’m just itching to get some proper paint on these walls!
One more before and after…here’s the before.

And the after!